Food photography is - obviously - important for a food business. A photo that perfectly captures the essence of a dish can make or break how people relate to your menu (aka sales!) and can affect how engaged your social media or blog post audience will be. Read more about why food imagery matters here or read on for specific tips on how to enhance your menu on Cookaborough with images of food.
Taking photos vs sourcing images
Taking pictures
The most cost-effective and personalised way to add punch to your menu! Here are very handy tips from awesome photographer Dean to keep in mind when doing it yourself:
- Props – Working with food, you likely have already accumulated lots of props i.e. cutlery, crockery, glassware etc. Props are useful as they can help to create an aesthetically pleasing scene whilst leading the viewer's eyes through the image to your intended focus. You can get all sorts of patinated cutlery and plates from vintage shops and OP shops. The less reflective the better. And you can also purchase Matt spray from Photographic supplies stores to dull out shiny surfaces. Just keep them to a minimum so the food still remains the hero
- Capture – You’re probably shooting this with your iPhone or similar. If you’re shooting at a 45º angle, you’ll want to focus on the main part of the dish. Maybe use the portrait function - this creates a short depth of field (soft focus) outside of the dish which brings the eye onto the subject matter or dish which you are wanting to showcase
- If you are shooting a flat lay (from directly above) you will want to aim your focus at the top of your dish. Sometimes the right effect is hard to get shooting from above - usually, it's easier to shoot from plate level.
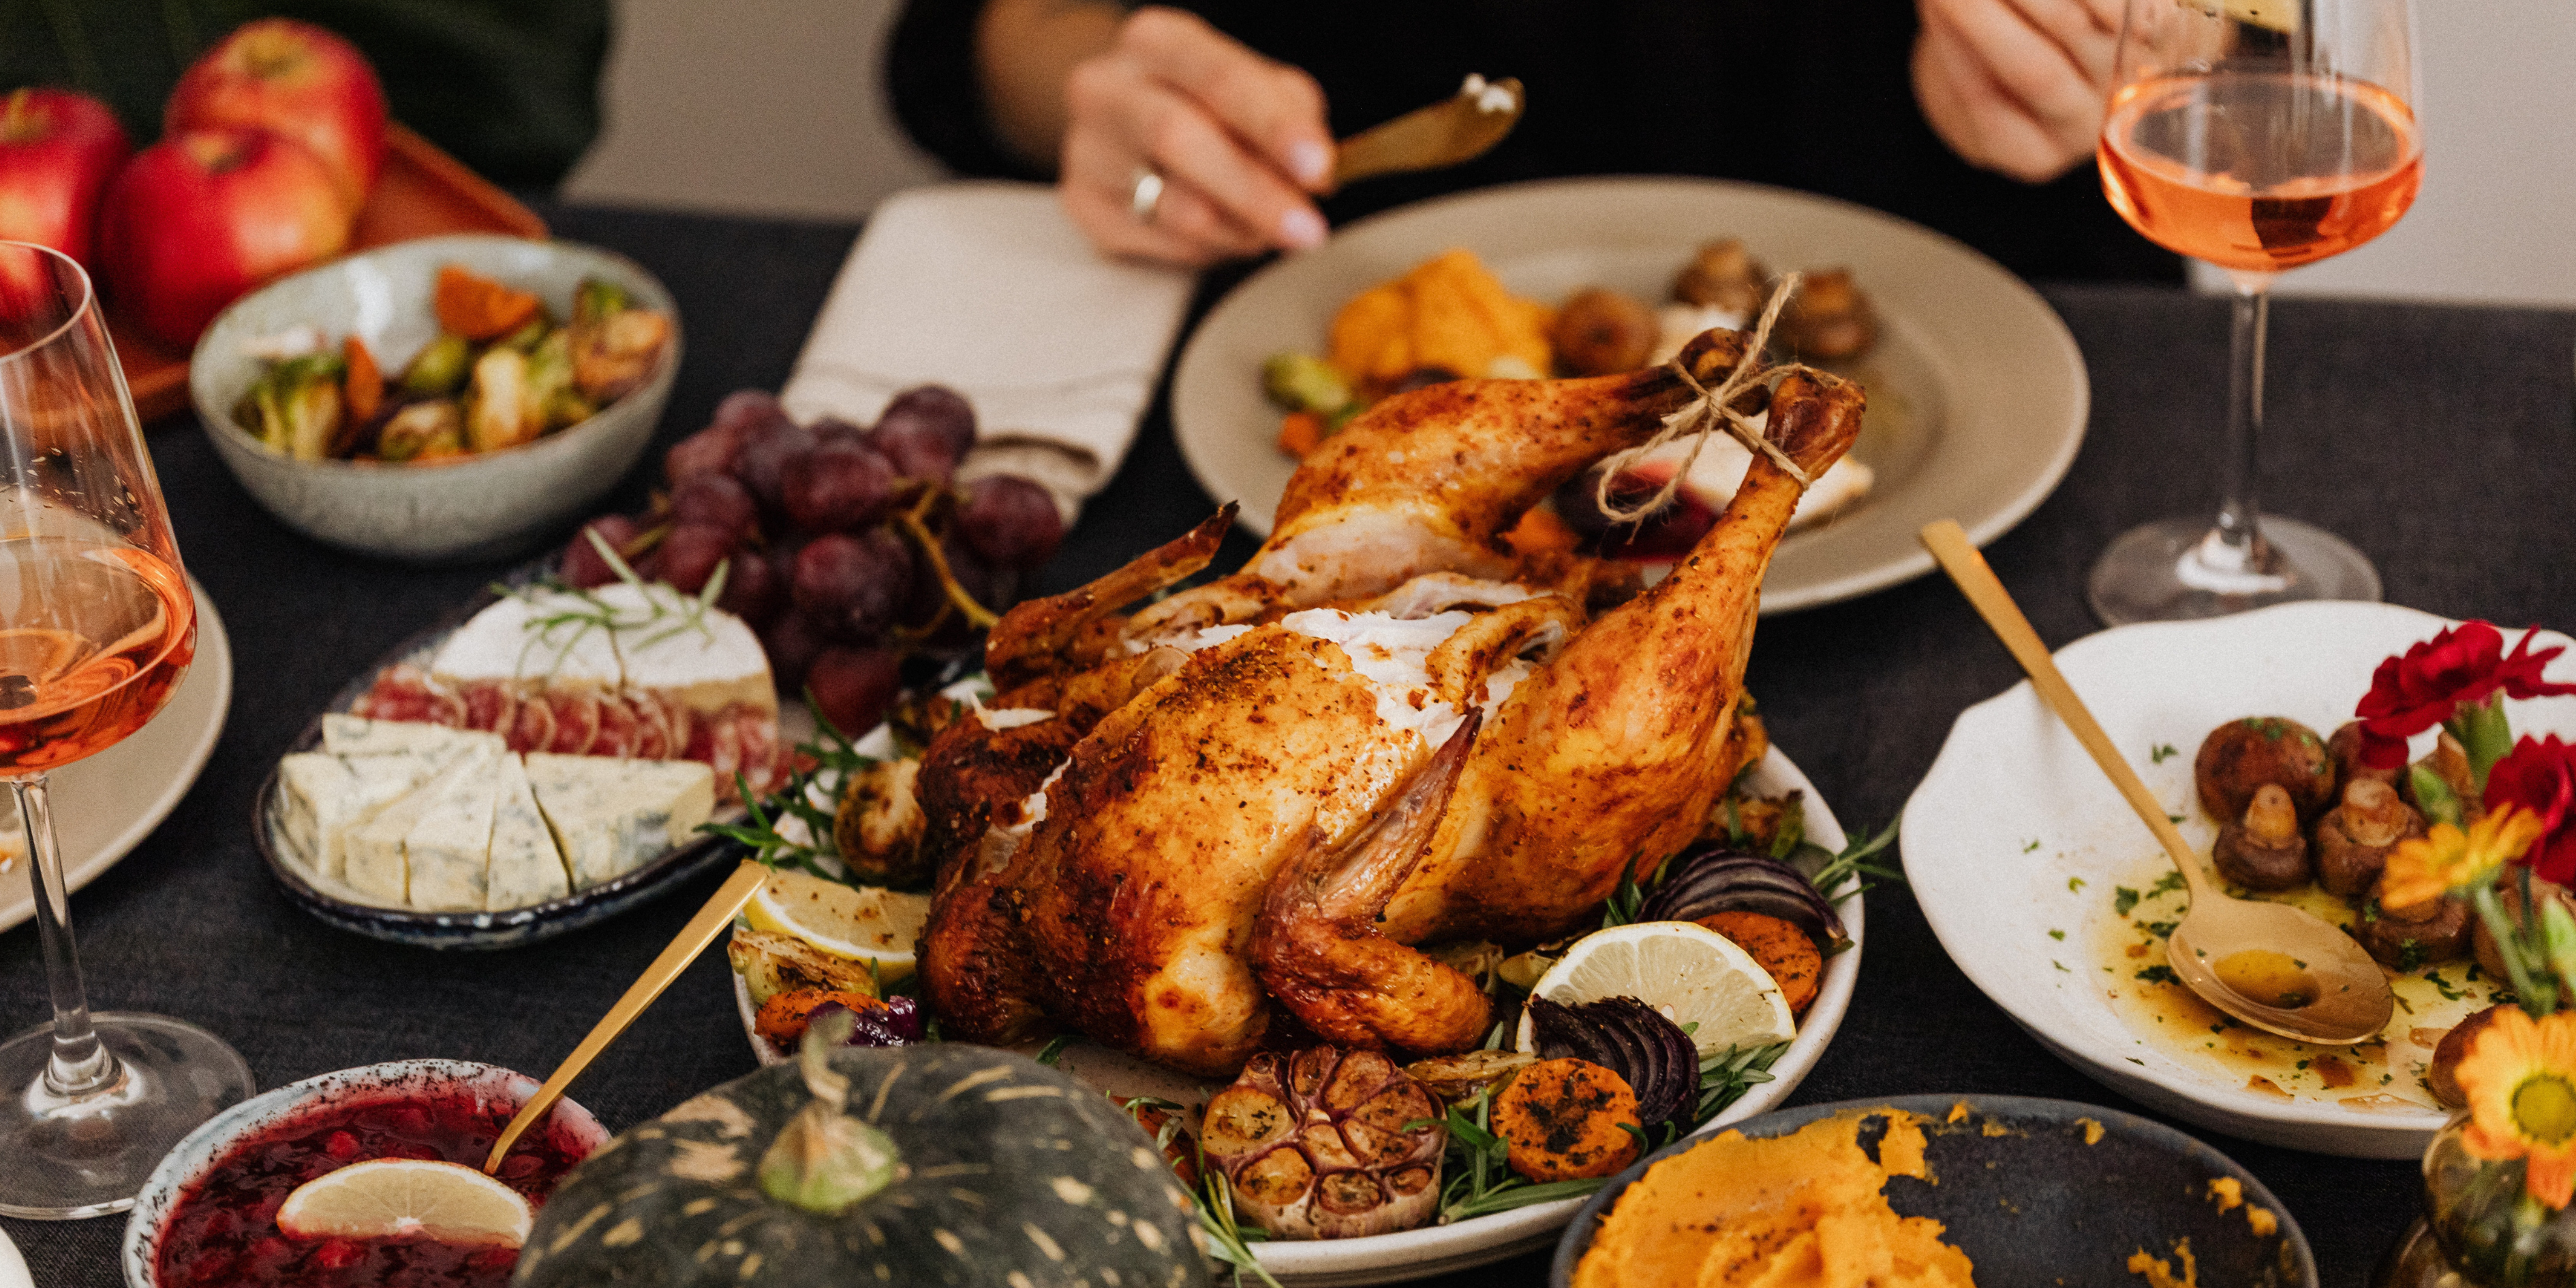
- Plating - Plate your food up how your customers are likely to eat it, meaning show the plated version rather than the version in containers (unless you have something to say about your containers!). Place your food in the middle of the plate/bowl with some room around the edges where you would see the plate.
- Lighting - Soft natural light as appears near a window is the most flattering for food but you can also make things pop with funky lighting but you’ll need to have a bit more skill and tools for that. Try to light from one side rather than the top but beware of shadows.
- Composition - Pick the hero image and surround it with space and layers so when you need to crop, the subject doesn’t get cut off.
- Be prepared so you can be quick about it - food doesn’t stay looking pristine for long
- Editing - Use the editing tools on your phone to refine the image - try to make the food all look similar in style so your customer can browse items on your menu without getting too distracted by different styles of photos.
-Nov-03-2022-03-35-52-7348-AM.png?width=716&height=403&name=Blog%20JPG%202%20PNG(1)-Nov-03-2022-03-35-52-7348-AM.png)
Stock shots
Don’t have images? No worries! There are a lot of sites that offer free stock shots. This is still a very cost-effective, and useful way to appear professional, especially for banner images and general shots, but be wary of using stock shots for your menu items if yours look different from the way they’re portrayed in the stock shot.
TIP:
- Make sure the images looks like your food and they don’t include other food items with them for example, if selling bolognese only, find an image of bolognese not bolognese and spaghetti to avoid surprises for customers on the food’s arrival
- Cheesy stock images generally don’t appeal
- Check for any copyright issues
Check out our favourite stock shot sites:
Pexels and Stock Images
Pexels is a free stock image and video library where you can download, copy, distribute, and modify images licensed by Pexels. We think this is the best one as they have a huge range of images to choose from.
Their site has hundreds of thousands of images hand-picked from photos that have been uploaded by the Pexels community. All photos are tagged, searchable, and can easily be found on the site’s discovery pages.
And here’s a link to a whole series of other free food photography websites
Canva
The acclaimed graphic design tool Canva also offers free stock images on its site. The Canva library is home to millions of paid and free stock photos to download or use in the platform’s design editor.
One great feature of Canva is its Free AI Image Generator, which allows you to create high-quality, customized food images in seconds. This tool is perfect for enhancing your menu visuals without the need for expensive photography. You can generate images that match your dishes and branding.
TIP:
- Ensure AI-generated images closely resemble your actual dishes.
- Use similar lighting, backgrounds, and angles for a cohesive menu look.
- Choose square (4:3) images for menu items.
- Adjust colours, contrast, and saturation for a polished finish.
Professional photographers
Professional photographers really know how to make food pop. It’s worth investing in having a few photos for your website, for your banner image and having some shots in your pocket for any publicity opportunities that may arise (this means a photo of you as well!). You might even be able to do some contra for some delicious meals!
Remember that they won’t be around every time you add a new dish or recipe so try to improve your own skills for Recipe and Menu shots.
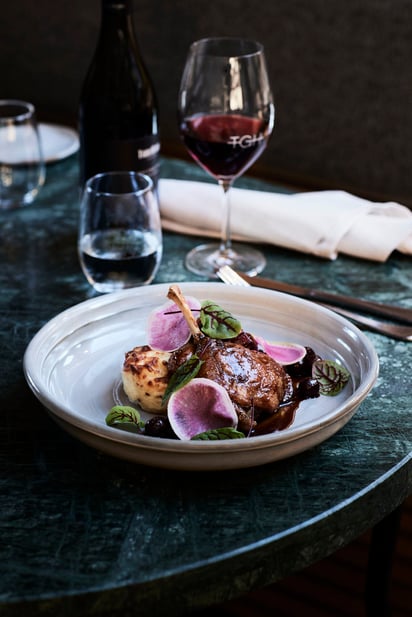
Check out how good some of these images look:
Dean Bradley
Garth Oriander
Parker Blain
Teresa Esther
You will find some useful tips for setting up "the shot" here.
Using an existing image
Also, think about your inventory of existing images you have at your disposal - think social channels, your website or your camera roll!
By leveraging a background remover tool, you can effortlessly remove distracting backgrounds and enhance the visual appeal of your food images.
TIP: If you use Chrome there is a great tool available that means you can download your Instagram images instead of using a screenshot which often ends up not being of great quality.
Photos on your Cookaborough Page
Where they matter
Ok so you have your photos and you’re ready to upload them? Read where to upload in order to have the best impact on customers for your menus.
Your Banner
This picture appears wherever people land on your kitchen page.
Shoot this on Landscape on your phone Ratio is 2:1 here which just means the width is twice as big as the height. Our banners may sometimes chop a little off on both sides so check it on the platform before you save it.
Online Menu Items
These photos appear on your online menu. Every item should have an image, which is added at the Recipes page.
Adding Menu Item Images
- Shoot this picture as a square picture, such as in portrait mode. The ratio is 4:3 which just means it is roughly square-ish!
- Download the image as either a PGJ (best) or a JPEG file
- Go to Recipes > Upload Image
- Select the image – generally located in your ‘Downloads’ folder.
- Review & adjust images as you see fit.
Meal Packs
If you are offering meal packs in your menu, don’t forget you can add a photo of your meal pack when you create it. Remember this photo should be all of the items in one photo that are included in the meal pack.
Adding a Meal Pack image
- Shoot this picture also as a square picture, such as in portrait mode. The ratio is 4:3 which just means it is roughly square-ish!
- Download the image as either a PGJ (best) or a JPEG file
- Go to Meal Packs > Create Meal Pack > Image (at the bottom of the Meal Pack section)
Weekly Menu Email
This image will appear on your weekly Menu Open email. This is a great spot to add an engaging image. You can have this appear the same every week, or you can change it every week. Changing it every week to suit the theme can make your weekly email more engaging for your customers.
Adding a Menu image
- Download the image as either a PGJ (best) or a JPEG file
- Go to Menus > Menu image
- Select the image – generally located in your ‘Downloads’ folder
- Review and adjust as necessary
Find-a-Cook Marketplace
This photo will appear on the Cookaborough Marketplace - where customers who are looking for a solution to their dinner dilemma but don’t yet know about you, can find you. This is basically an ad for you on Cookaborough so the image needs to reflect your ethos, what kind of food you offer or anything else you think might attract a new customer to your Menu page.
Adding a Marketplace image
- Shoot this one in landscape mode - the ratio is 2:1
- Download the image as either a PGJ (best) or a JPEG file
- Go to Settings > Advanced Settings > Join Find-A-Cook Marketplace > Find-A -Cook Image
- Select the image – generally located in your ‘Downloads’ folder
- Review and adjust as necessary
Gift Vouchers
To make your gift vouchers look like you, add a photo here.
Adding a Gift Voucher image
- Download the image as either a PGJ (best) or a JPEG file
- Go to Settings > Enable Gift Vouchers > Gift Voucher Image
- Select the image – generally located in your ‘Downloads’ folder
- Review and adjust as necessary
Thank you.
Thank you for taking the time to read through this resource.
We love staying connected and we’re here to help, so please reach out if you have any queries. We’re committed to helping you run and grow your business, and we’re always evolving our tools and resources to better support you. If you have any ideas of how else we can help, we’d love to hear from you.
.png)